Tag Archives: Bookbinding

Here I am again

I initiated hourly fees for use of the most expensive sewing machines in my area of the makerspace. We were the only large area not charging use fees. My hourly fees are only $2 per hour, lower than the $10 per hour of other areas because I get more long term projects on machines requiring less expensive repairs or replacements. The fees will go toward things like needles, bobbins, and replacement machine embroidery hoops or specialty parts for the other sewing machines.

I had a serger disappear from the shop. I’ve ordered a replacement. What I don’t understand is why I still have the scrap bin and the pedal. The new machine, as well as the other more expensive machines are getting trackers. That way if another machine disappears, I’ll have a notification and a time frame to check the cameras.

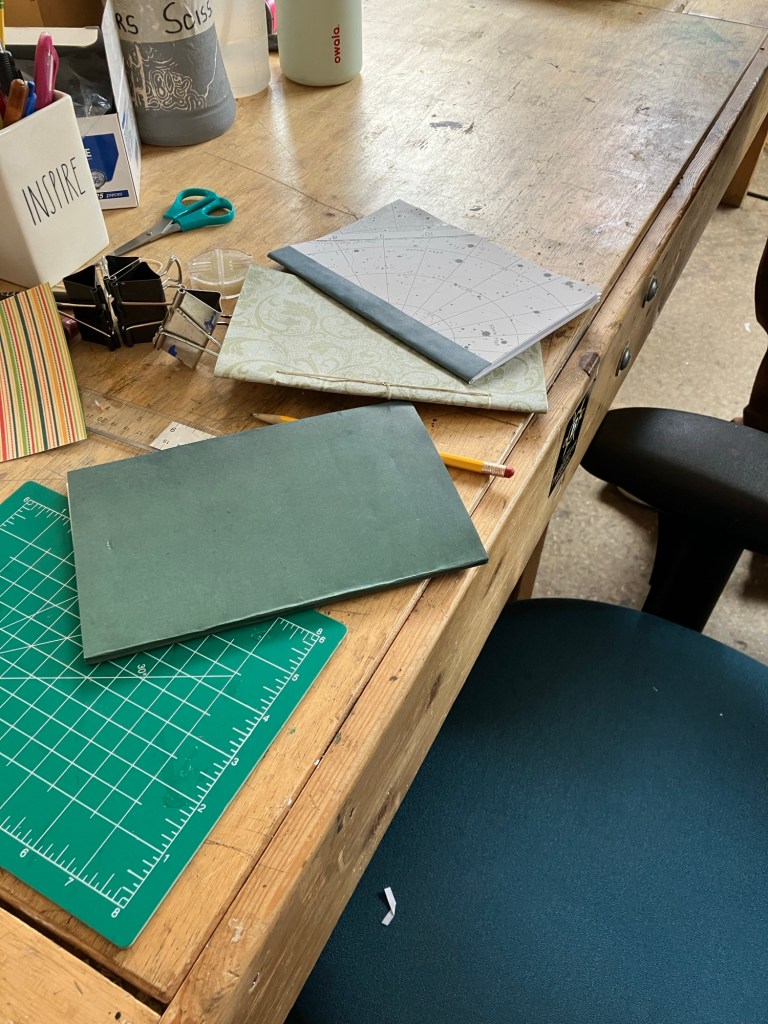
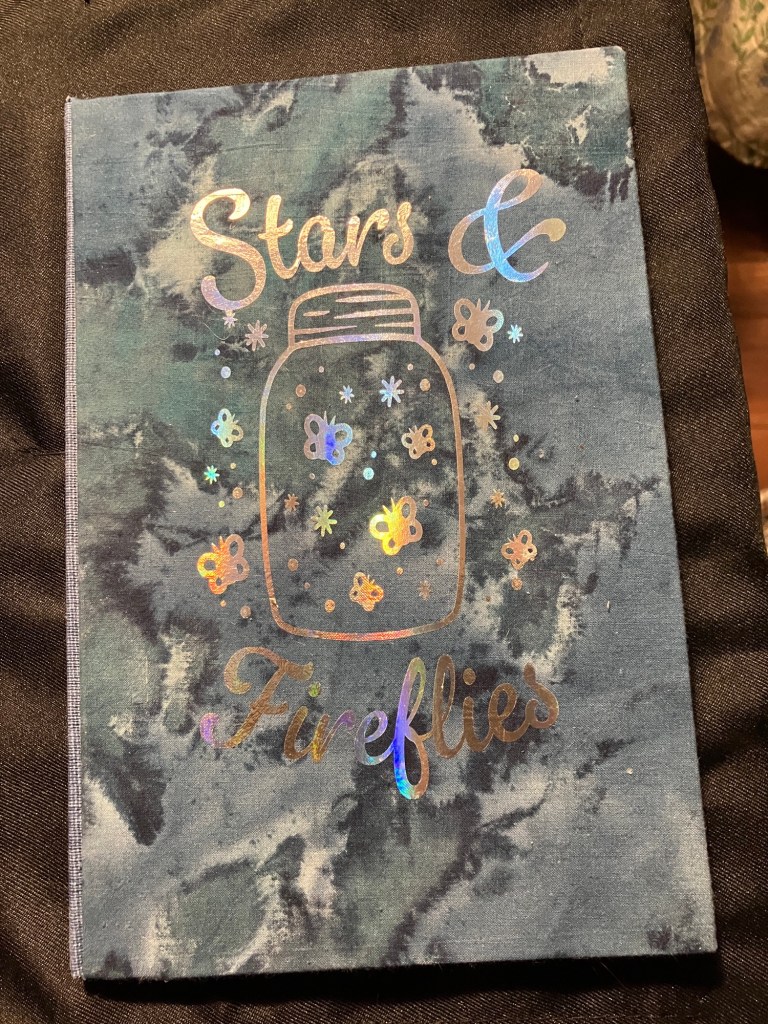
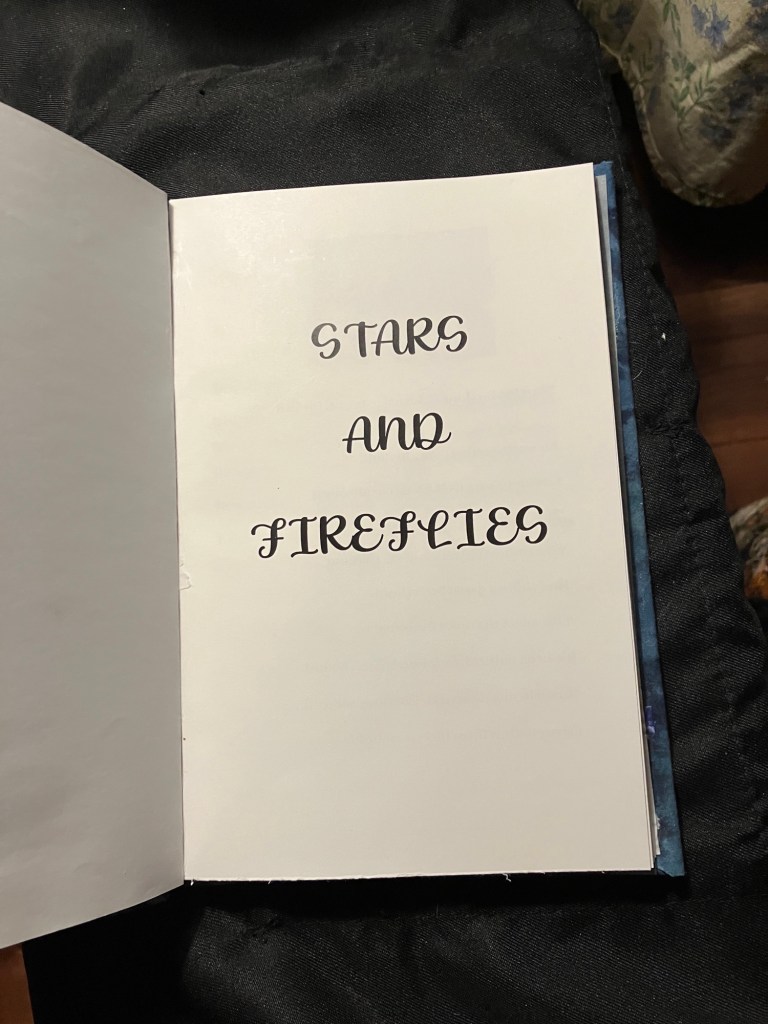
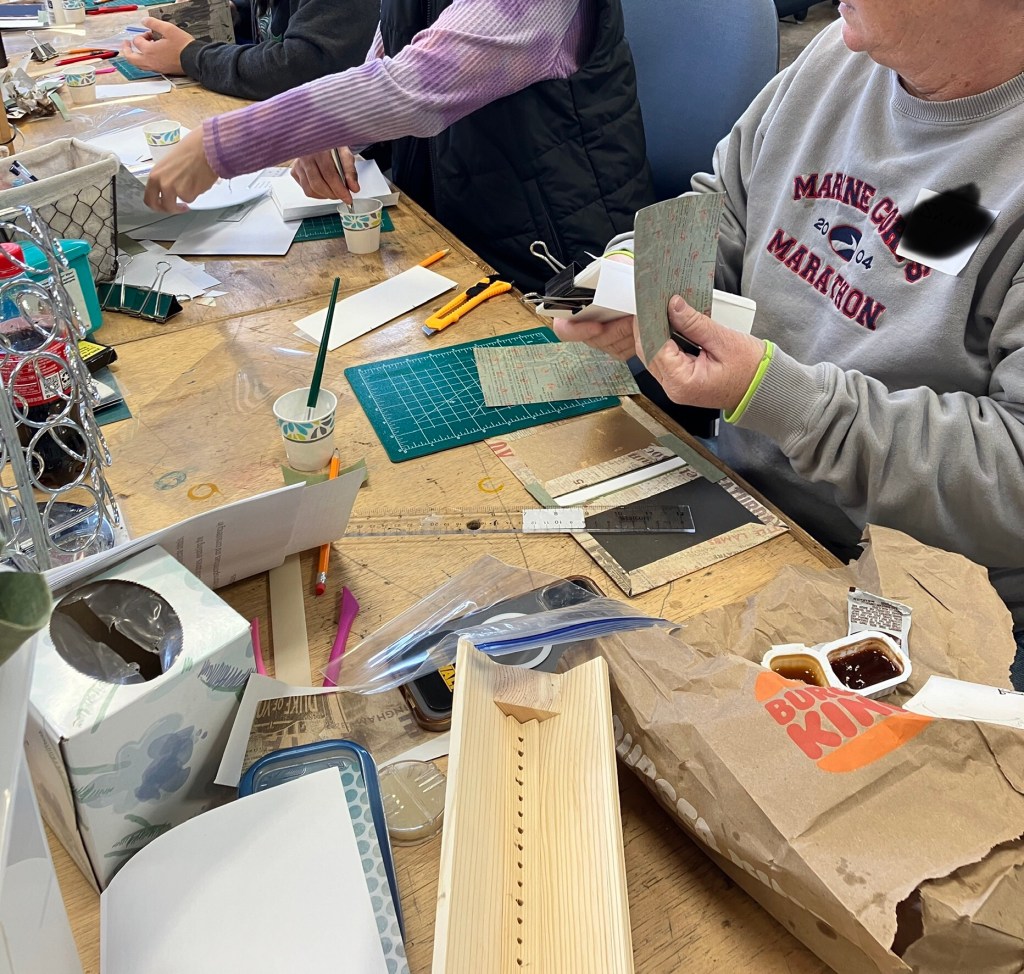
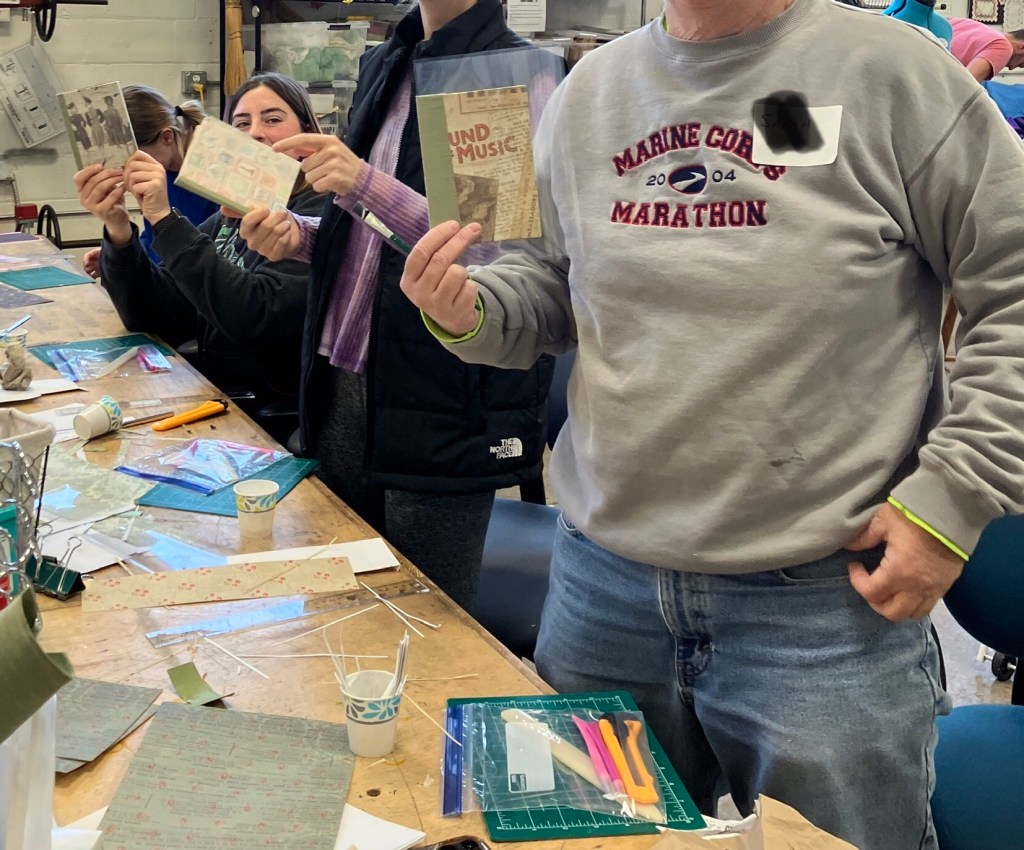
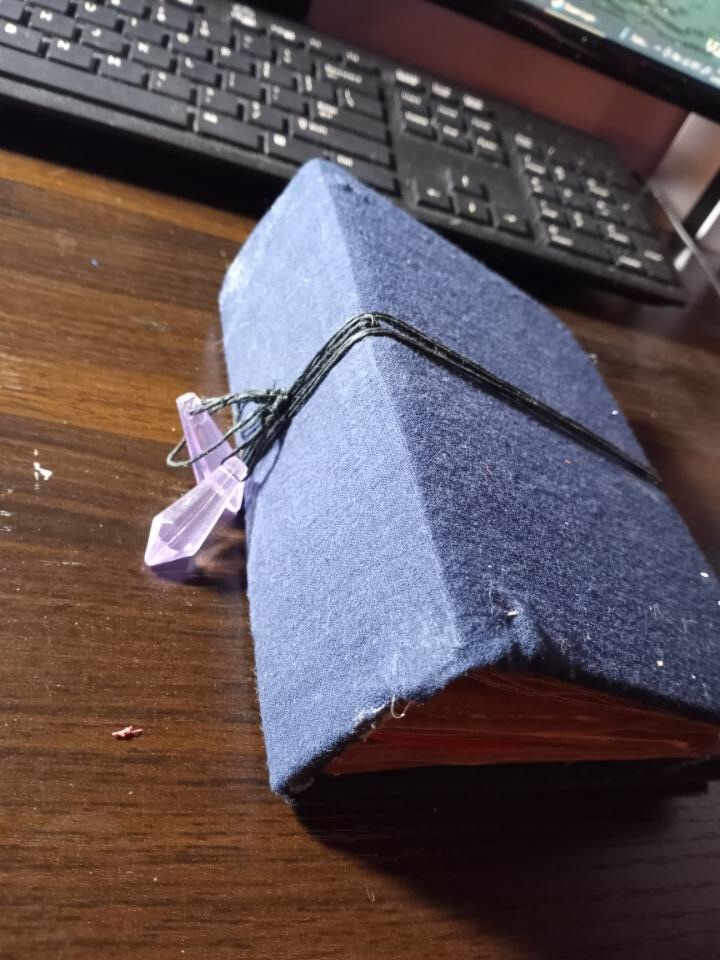
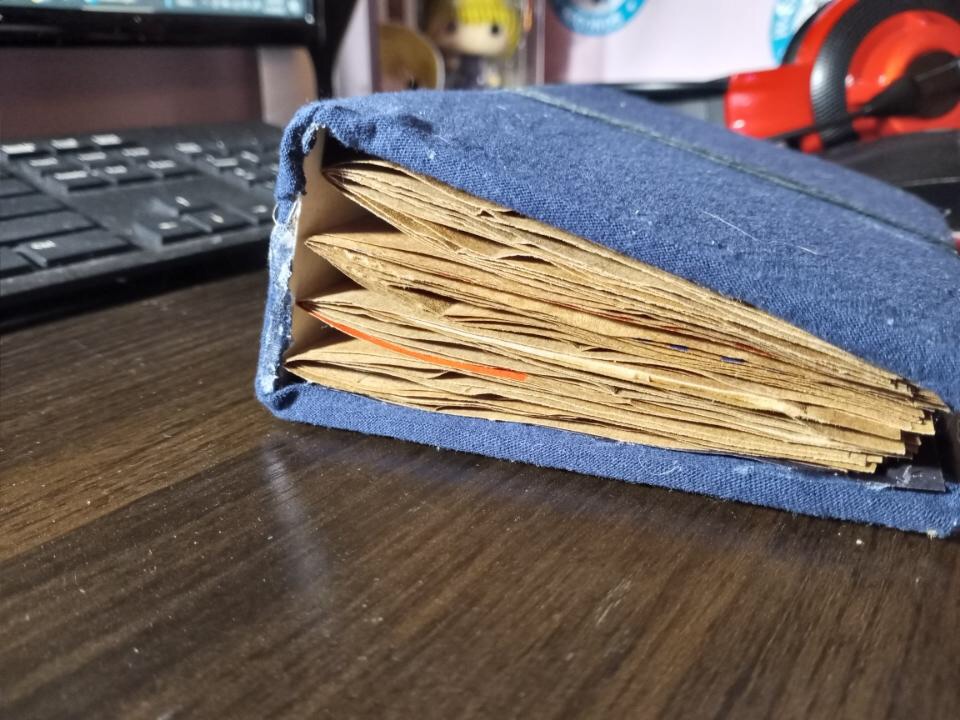
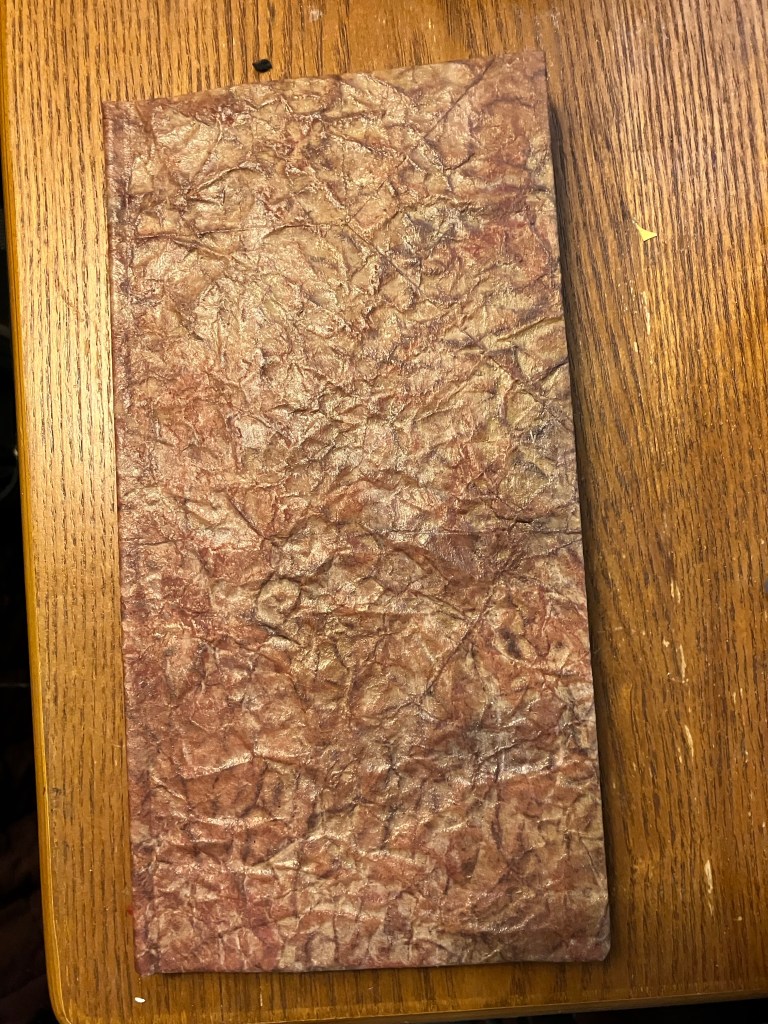
This past weekend, I took part in Bodgefest — a celebration of 11 years as a makerspace. I had a table featuring various zines and handmade books, plus fancy bookmarks and some leftover wristlet key holders I found in with my displays.

I’ve made a few new zines for the sale this month. One is a new Florida Man adventure based on current events. I have not nentioned any names. Another is a short story that includes a recipe for a hearty soup. I’ve also written a small book on diy book-binding,

My son helped me carry in my table and display items. I didn’t make much money. I don’t think any of us vendors did more than a few sales. My last sale wasn’t actually a sale. A really cute little girl came by with her mom and looked over my books. A tiny coil-bound notebook caught her eye. She picked it up and looked inside but the pink flower on the cover is what caught her eye.

Her mom asked how much it was. I hadn’t put a price sticker on that one, but the others were $2. When I mentioned I hadn’t priced it, the little girl placed the book back on the rack. When her mom asked how much, I told her it was a dollar, or free, her choice. The little girl was so happy to get the little notebook. I didn’t lose any real money by not charging for it. The happy smile was worth more than money.

Here I am, setting up. The little girl’s book is on the third row of the rack below the zines.

The zines are an in-going commentary on various topics. The Florida Man headlines make an entire series. I do a couple of new zines every year. Next year I’m going to set up a table at Zine Fest featuring the Insanity Shuffles* series and some copies of my craft booklets that I make for my classes – paper-making, book-binding, soap making, how to read sewing pattern symbols, and a few others.

That’s it for now.

Crud!

I’ve had some sort of crud for the last week — mostly dizziness. I still seem to have it. I had 2 bookbinding classes Saturday. Attendance was light. I know one person was refunded, but two other people didn’t show up.

This was my Binding Single Pages class. Only 3 signed up.
Another set of single sheet books.

The morning class was Bookbinding 101.2 – Binding Single Sheets. We did three types of bindings. The first was a Perfect Binding. Thats the type of binding you have on a paperback book. It’s a glue binding where PVA glue is brushed on the edges of what becomes the spine.

The three students created their own covers out of cardstock creased in the center to form a spine which was then glued to the text-block. The paper used for all three of the text-blocks was copy paper cut to size. For more advanced classes, I use medium weight sketch paper. I also charge more per student.

The second book was a simple form of the Stab Stitch. Two of the students used two holes and one used three. When I do my class on Japanese binding, we will use more intricate threading patterns and chipboard for sturdier covers.

The third book was a combination of sewing and gluing. It makes more of a scrapbook-type book. The pages were sewn together with a 3-hole stitch and then glue was applied to the thread to secure it. An additional layer of glue was applied to the spine to hold a separate piece of card-stock as a spine. The covers were then applied to the spine piece with glue.

This a great way to keep kids artwork together in a book form. For the covers of that type of book, I would recommend chipboard covers cut to the size of the largest piece of art being bound. The chipboard could be covered with wrapping paper, rather than pieced together card-stock. A coat of Mod-Podge or thinned white glue could be brushed on the covers so they would last longer.

The second class was basic bookbinding where my 4 students learned how make a book with three signatures and how to attach the signatures to a simple spine. I didn’t get pictures because I started feeling off again. All I know is that whatever I have is not Covid. I’m going to have to find out if I have an ear infection since my balance is off.

After everyone left and I had cleaned up,I decided to spend time in my studio. Mistake! I sat down and almost immediately filled my tiny wastebasket with barf. Fortunately there was a plastic bag in there. I sat for awhile and then carefully drove home and went to bed.

Book binding class – a late report

The class went well. Seven students of the eight who paid showed up and were able to go home with 4-signature hard-bound books. The books were small, but they should last for a while.

Finished books.

I provided pre-cut mat board to use as the covers. The boards were covered in scrapbook paper and the spines were book cloth. Sketch paper was used for the signatures and everyone was checked off on the industrial paper cutter in order to trim the signatures to a uniform size to fit in the binding.

The group went home with a kit containing a large-eye needle, a cutting mat, a knife, and a couple of paper piercers. Most of the kit was bought a Dollar Tree so not a lot of money was spent. I spent around $6 per student. I charged them $35 for the class.

Book binding.

I have a basic book binding class coming up on the 19th of this month. The class is fully booked and I have been making up kits for my students. They will learn how to bind a simple multi-signature hard cover book. I’ve added more supplies to my kit so I can teach 8 students at a time. I don’t know if there will be any youngsters in the class, but it would be great if there were. Perhaps in the future, I will offer a “Bookbinding For Kids” class.

Two views of a book made a few years ago by my youngest granddaughter on her own after a Saturday book making session with Nana.

I’m using sketch paper as the pages. Normally, I use whatever copy paper I have for classes, but it’s flimsy, and while the book is usable, it’s not all that nice. The sketch paper is more durable than copy paper and will hold up better for writing and drawing.

Once they master the basics, I hope they will be inspired to create their own books to use as journals or sketchbooks. For this project, I have cut mat board to 4-1/2 by 5-1/2 in size. I cut the 9 by 12 inch sketch paper in half and they will get the equivalent of six full size papers which they will learn to trim. The maker space currently has an electric industrial paper cutter we can use.

I’m making prototypes to show the various stages of binding from how to determine the grain for folding, covering the boards, and assembling a completed book.

I could have two half-sheets folded as a single signature for six signatures, or up to six half sheets for larger signatures. The problem with larger signatures is a phenomenon called “creep”. When more than two sheets are in a signature, the edges become noticeably uneven, giving a signature a pyramidal edge as each inner paper adds a sliver to the outer edge, with the centermost folded sheets projecting out a distance equal from the edge of the outmost folded sheet like this sideways v >. That gives an uneven edge to the text block.

That’s not a bad thing as many older bound books have signatures arrayed like this. Most book binders trim the edges of the entire text block so they are even before binding the block into the cover. It’s a matter of preference. It’s harder to trim the signatures evenly by hand without an industrial paper cutter that can handle a thick text block.

Depending on the look a binder is trying for, creep could be esthetic. I personally don’t care. Some of the bound item have uneven edges, some are trimmed. I’ve spent a bit on inexpensive binding supplies this round so that I have enough of the basics for each student to take home. They’ll get to keep a bone folder, a couple of piercing tools, a needle, and a good length of waxed thread.

I don’t have waxed linen thread, so we’ll be using waxed cotton tatting thread. I use a beeswax thread conditioner that can be found in the notions area of any fabric shop and run the length of thread across from end to end. I used to use a candle stub before raiding my sewing box for the beeswax.

Trying to work out an arrangement of some items to be set up for a sale with only 1 table allowed. Not everything shown here was taken to the sale.

For my junk journals, I’ve used embroidery thread, dental floss, rattan ribbon, perle cotton, and satin ribbon to stitch signatures and attach bindings. The stitching for the junk journal signatures is mostly done on the outside of the spine and can be done very decoratively. I also like perle cotton for doing Japanese Stab Binding. This technique will be a different class offering.

A cloth-bound sketchbook I made for my youngest Granddaughter’s 13th birthday.

I’ll let you know how the class goes.

Classes, part 1

I wrote up three new classes for the members of the maker space I belong to. I’ll be offering a class in using our heat press to make unique gifts. This will include training on our Cricut cutting machine for cutting vinyl for stencils and transfers.

Our heat press has attachments for applying vinyl designs to shirts and other flat items, for mugs and tumblers, ball caps and two sizes of plates. We actually had it sitting around disassembled for almost a year until I finally put it together and taught myself how to use it. I’ve given classes in its use before but it doesn’t get much use since we got screen printing set up.

What I plan to show my students is that the combination of the Cricut and heat press can give them more options for unique personalized gifts. I recommend screen printing for runs of multiples of the same t-shirts or fabric goods. We do have several members who use the Cricut or our big vinyl cutter to make stencils for screens, but for a one-off, the two machines work well.

My second class is basic book binding. I’ve been repairing and making books since 9th grade. I had a open period and started working in the library during that time. We would be given discarded books that had missing pages or wrecked bindings. My job was to make a page template and type up the missing pages from a borrowed copy to be bound into the book. This was ages before copy machines were a thing.

I found it much more interesting work than taking what was called Home Economics which was a course for only female students to prepare them for a home and family. Now Home Ec has been repackaged for both female and male students to teach them some life skills, but not nearly enough skills.

I actually have a side business of repairing older books by hand. I’ve restored both leather and cloth bindings and rebind those that need it. I no longer type up missing pages, but I do use acid-free tape to repair torn pages.

My bookbinding class will have the students build a book from making the signatures and cover to assembling the signatures and cover to make a useful notebook. In the interest of time, I will make basic kits containing the papers, and chipboard, decorative papers, and permanent glue sticks. We won’t be making books to last for ages – just something easy and usable.

Finally, the faux leather journal is done.

I finally completed the book. The first one didn’t turn out as I planned but the second is rather nice. The inside cover has scrapbook paper linings and flyleaves. The pages are folded from good quality laser printer paper. It’s not quite perfect, but usable. My next one will be better, but this isn’t too bad for a prototype.

I did learn quite a bit from this project. I’ll probably teach the technique at one of my paper craft sessions if others are interested.

The finished product.