Tag Archives: Crafts

My second painting

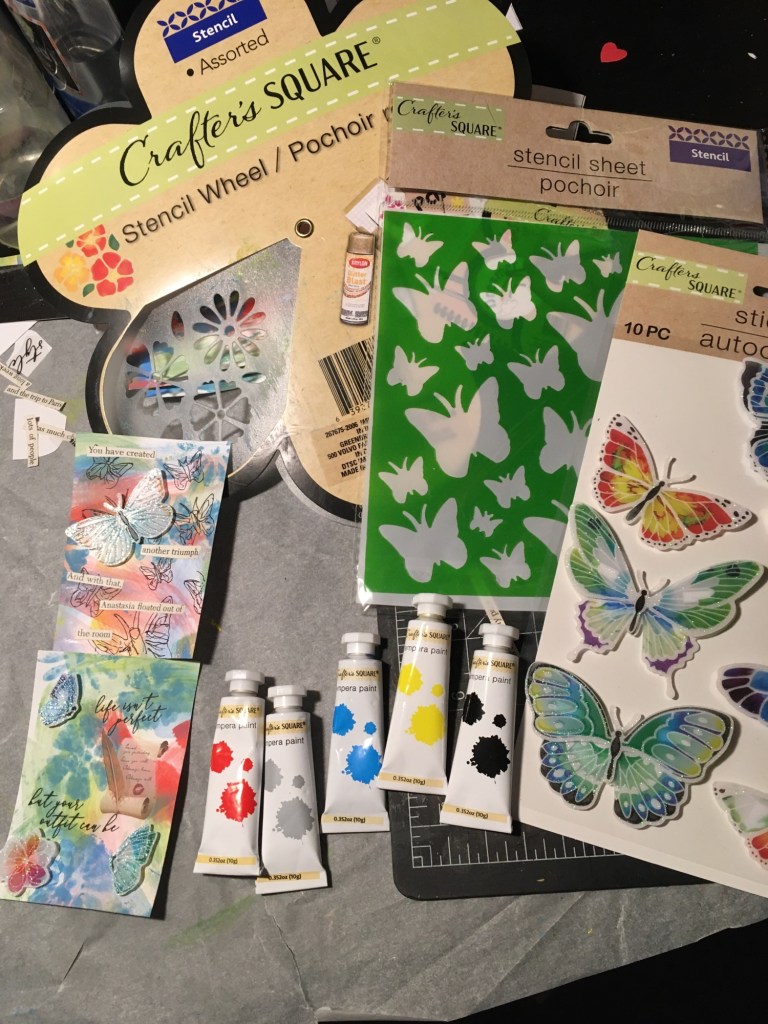
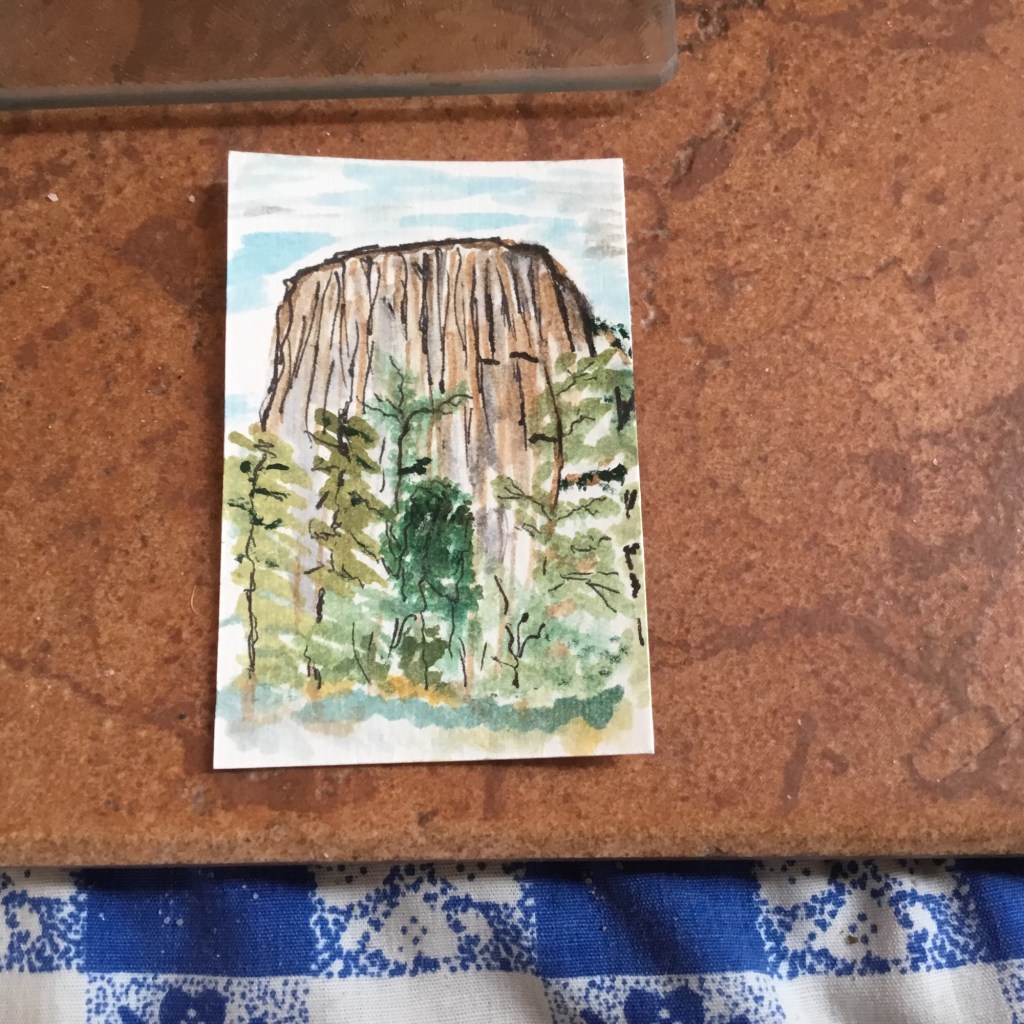
I’ve done my second painting of the 100 Painting project. This one is based on a photo from the road trip I took with two of my sisters in 2023. It’s a view of the Devil’s Tower. It’t not a great painting. I need tinier brushes. And a steadier hand.

Devils Tower, WY 2023

I’d like to make another trip out there to take more time to walk around. Since I wasn’t in charge of the trip, I didn’t get a chance to hike around it. I really wanted to see where the aliens landed – that’s a joke folks. The area around the other side of the rock isn’t large enough for the facility they showed in the movie.

It’s not that I don’t believe there’s life out there. There has to be. However, once we start exploring the galaxy in ships, I think we’ll only find remnants of life if we find habitable planets. Just as any species who travels here will probably find our dead cities and dry oceans.

A galactic federation sounds like something to strive for, but humans can’t seem to get over their petty differences and there’s no real reason to believe any other civilization would either. It would be nice to learn there are others, but I don’t think humanity, or at least the corner of where I live, would not be able to accept that other beings exist. Some – far too many – believe the earth is flat, that vaccines don’t work, that the ugly bits of history don’t need to be taught, that our government is the best, and the rest of the world doesn’t have anything like what we have.

In some respects, we’re right. Many parts of the world don’t have citizens who work for wages, who can’t afford food or housing. Most other countries’ citizens don’t go bankrupt when they need life-saving surgery or a ride in an ambulance. Other countries don’t have to worry about their children getting shot during their school day unless it’s a war zone.

It is my belief that out beyond the Oort cloud, there are beacons warning other civilizations not to stop to visit Earth because it’s too deadly an environment for civilized folks. And for all they know, the crazy might be contagious. Periodically, a science vessel may stop by to collect data and to update and upgrade the warning beacons invisibility shielding.

 Creating Artist Trading Cards with Dollar Tree Crafter’s Square Items

Way back during the Great Covid Lockdown, I did an online session on making Artist Trading Cards for members of the Bodgery, a maker space here in Madison.

Supplies

From the Dollar Tree

Crafter’s Square:

  • Stencils
  • Stickers
  • Rub-on stickers
  • Tempera Watercolor
  • Rubber stamps

Other supplies

  • Sheet of sturdy paper such as card stock, drawing paper, watercolor paper, or Bristol board sized 8-1/2 by 11 inches.
  • Ruler, craft knife, and cutting mat, or paper trimmer
  • Ink pads
  • Paint brush – about ½ inch (across or in diameter) depending on whether you have a flat or round brush.
  • Scissors
  • Magazine or book pages
  • Glue or glue stick
  • Pencil
  • Fine-tipped black pen
  • Something to use as a palette.
  • Two containers for water
    • One for rinsing brushes
    • One for clean water to dilute paint.
  • Rag or paper towels for wiping brushes.

Optional:

  • Craft heat gun or hair dryer for drying paper.
  • Cosmetic sponge or dauber for distressing edges.
  • Distress ink or tan ink pad for distressing edgesd
  • 12 x 12 single-sided cardstock cut to 7 by 10-1/2 inches.

On the back of the sheet of paper, mark boxes 3-1/2 inches tall by 2-1/2 inch wide. The number of cards will depend on the orientation of your paper. 8-1/2 by 11 will make 9 cards;11 by 8-1/2 will make 8.

Once you mark off the card shapes, turn the paper over. Squeeze a small blob of the three primary colors onto the palette. Dip your brush into the clean water container and then into your first color.

Make random streaks and lines in each color across the paper. Clean brushes after each color to keep them clean. Overlap marks to create additional colors. Let paints dry.

Stamp images randomly across paper to create additional background interest. Cut cards apart and distress edges if desired. Use book pages to select words and phrases to decorate front of cards. Select embellishments from sticker sheet for front of card.

Before gluing items down, test arrangements. Once you are satisfied, glue everything down. To ensure lasting adhesion, apply glue to each sticker and phrase before laying them down. Glue stick adhesive tends to dry out and lift after a while.

Crafter’s Square art supplies.

A couple of finished cards.

The items are fairly nice to use and affordable so any one with a couple of dollars can make a small piece of art to share. You don’t need to spend a lot of money on art supplies.

Since the time I did this class, Dollar Tree has added more craft supplies including fabric and vinyl that can be used with die-cutting machines such as Cricut. If there’s a store near you, check them out.

Still working on books.

I’d be done prepping for the sale, but I got distracted by an entire series of books which I’ve been reading over the last two weeks. I’d read for a bit, go back to work for a time and then work on books. I finished the series and now I am in the process of moving the mess I created in the living room back up to my craft area. I’ve been tossing, well recycling, a lot of paper. I put tiny scraps into a clear plastic bag and the larger scraps go into the collection bin as is.

Keeping up with the work around the house is the biggest thing. I started out participating in “No Mow May.” I gave it up because going an entire month without mowing is ridiculous. What I wound up with is foot tall dandelion stems standing above the violets and grass. I’ve mowed twice and the second time was awful.

I have a small electric mower, and the first cut a few weeks ago wasn’t too bad. I raised the deck and mowed the front yard higher than usual. The weather remained cool and the grass did its thing and grew the length it would have had from a shorter base cut, achieving even greater heights. When I started mowing last Tuesday, I realized I had to raise the deck again in order to not clog the mower. Because of the length of the grass, it retained a lot of moisture and I had to clean the underside tw

To finish the front took an additional battery charge. That charge allowed me to complete the entire front and part of the north side. Another charge allowed me to finish both side yards and I got to make a path in the back before the batteries conked out. Normally a charge gives me 45 minutes to do the entire front, one full side, and part of the other.

The next charge allowed me to do less than half of the back yard because it was like mowing a hay field. I had only done the front the first time I mowed, so the grass in the back was twice as long as usual. I needed another charge to do most of the rest of the back and one more to finish. I’m not doing that again. I’ve noticed that most of my neighbors also gave in and mowed.

The whole purpose of not mowing was to give the bees a chance at finding food after the winter. I actually saw fewer bees in my yard after not mowing because they couldn’t get to the low flowering plants that they normally feed from. I’m not doing this again.

I’ll be done with the final sale prep by Monday of next week. Then I’ll do a set-up in my garage so I know how I need to set up my display on sale day. Until next time.

Book Cloth

Today I made some book cloth to use on junk journal covers. It’s very easy to create colorful covers with do-it-yourself book cloth. I had been planning to make for a few months and finally decides to do it.

A colorful assortment of book cloth.

Anyone can make their own book cloth using fabric, tissue paper and a fabric bonding agent. What I used was a fat quarter bundle from Joann Fabric and Crafts, a product called Heat ‘n’ Bond, also from Joann’s, and white tissue paper from the No-longer Dollar Store.

For those who don’t sew, a fat quarter is the equivalent of a quarter yard of fabric. However, it is very different from a regular quarter yard. A quarter yard of fabric will be a nine-inch wide strip cut across the width of the fabric. A fat quarter is a yard of fabric cut lengthwise and crosswise to form four rectangles around 18 by 22 inches or slightly more depending on whether the fabric is 32 inches wide or 44/45 inches wide. Individual fat quarters can be bought or they may be bundled with coordinating colors or patterns.

Heat ‘n’Bond can be bought by the yard off the bolt or prepackaged. The light hold works well since you will only be bonding the fabric to the tissue paper. The book cloth will either be glued to the cover or sewn around the edges. The tissue paper keeps the glue from seeping through the fabric.

You will also need an iron and ironing board, scissors, and a ruler. You don’t have to prewash the fabric. Set the iron according to the recommended setting for the type of Heat ‘n’ Bond you have. Cut the Heat ‘n’ Bond to the size of the fabric piece. Press any wrinkles out of the fabric before placing the bonding sheet down on the wrong side of the fabric. I usually iron in a circular motion, ironing out from the center of the piece. Check the edges to make sure the adhesive is on the fabric and not stuck on the backing paper.

Once you’re certain the adhesive is in place on the fabric, remove the backing sheet by lifting a corner and gently pull up across the sheet. If the iron missed spots, press the area and check again. The fabric should still be warm when you pull up the backing sheet. Lay a sheet of tissue paper on top and iron until the tissue paper is adhered to the fabric. Trim the edges even with the bonded area. Et, voila! Book cloth.

Thursday, April 6th

Today I worked on a puppet I’m making for my sister. I’m building the face. It’s a hybrid sock puppet made from fleece instead of a sock. She requested a new one since her youngest grandson appropriated the original. I made the old one pictured below 20 years ago.

She has seen better days. The new one has the legs lightly stuffed and to shape will have a tail. The head will be shaped a bit better with some batting to give it more structure. The facial features will be similar. I should be done with it by Monday so I can ship it out.

I’ll post a photo of the completed puppet soon.