Tag Archives: Embellishments

Current Mood

I started this a couple of gloomy days ago. Grey. Grey skies again. Raining – good for plants, bad for me. it’s so dark at 8 am. This will be another day of not getting my shed assembled. I can’t do it alone, but my help is really bad on the follow-through. Is it bad parenting? Or is the alcohol?

My family where I live consists of two people other than me – my son and my youngest granddaughter. I rarely see either of them. My son has to work, made plans with a friend he hasn’t seen in 5 years, doesn’t have gas money, promised someone he’d help them do their yard, or some other equally obnoxious excuse. The only time I hear from him is if he needs gas money or food.

My Granddaughter works, and when she’s not working, watches her younger sister, or hangs with friends. She’s still a kid at 16, soon to be 17. I cut her plenty of slack. I’m not her responsibility. If I call her and say I need her help, she’ll figure out a day and time. But I don’t impose on her.

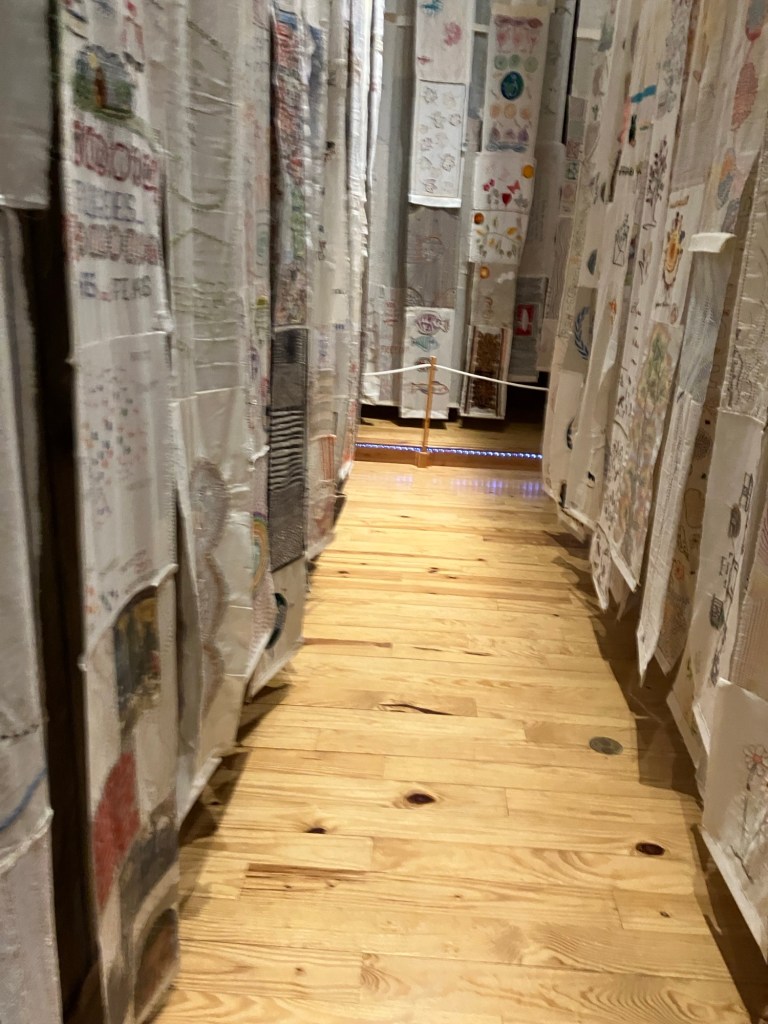
So my shed is in its component parts waiting. If it wasn’t a two-person job, I’d have done it by now. Enough bitchin’ and moaning. You’re not here for that. You’re here to find out if I ever made it to the Quilt Museum. Yes I did. The Wisconsin Museum of Quilts & Fiber Arts, located in Cedarburg, Wisconsin, has been hosting the traveling exhibit 25 Million Stitches: One Stitch, One Refugee.

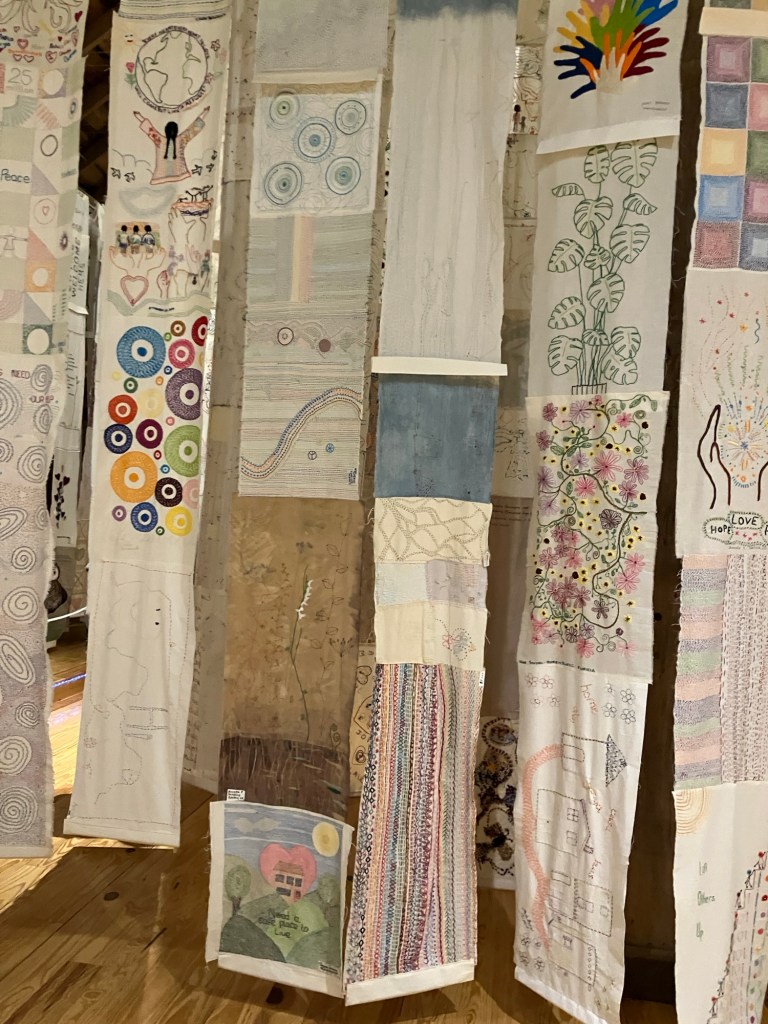
This exhibit is an artistic collaboration from many different nations and people about human displacement, immigration, and solidarity. It consists of over 25 million hand-sewn stitches, each representing a single displaced human being. The stitches are sewn on muslin banners of varying lengths, which were connected to form banners each 14’ long. Completing this physical representation of this huge statistic required participation from over 2,300 stitchers from 37 countries and all 50 U.S. states.

I spent several hours there at the Museum, actually looking for my panel which I could not find. Several other guests helped after I showed a photo from my phone, but I never did find it. I thought I had, but it was not clearly visible from the floor.

The center aisle of the exhibit.
Some of the panels from the left side of
the room.
An example of some of the intricate stitchery that made of the exhibit.
The center panel of this image vaguely suggests the panel I made. I’m not certain it is actually mine.

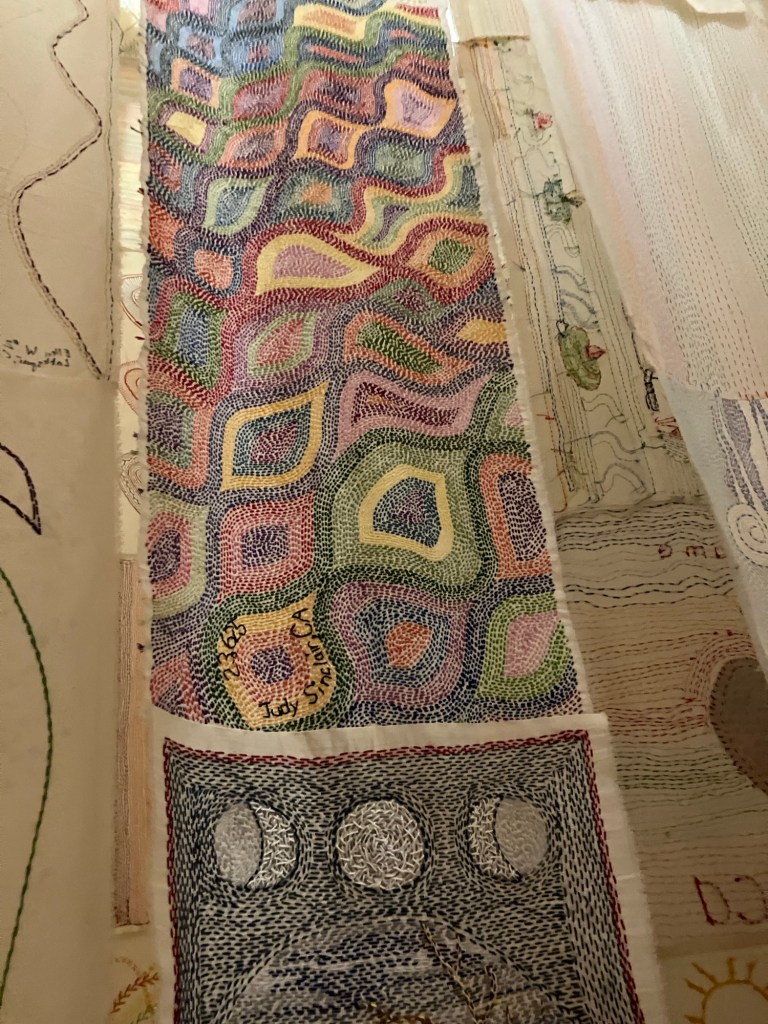
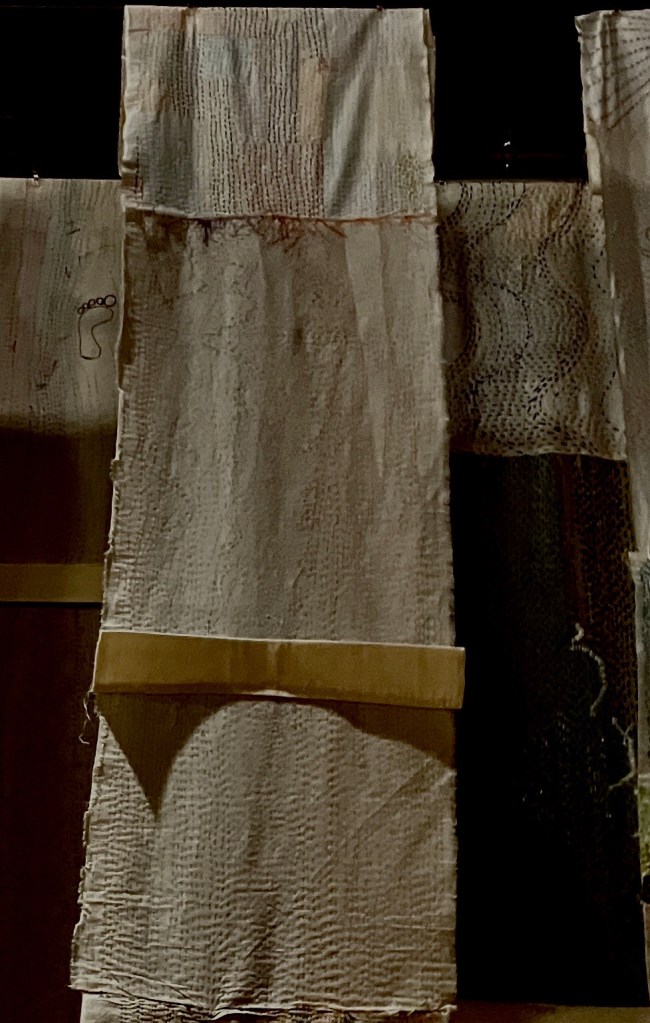
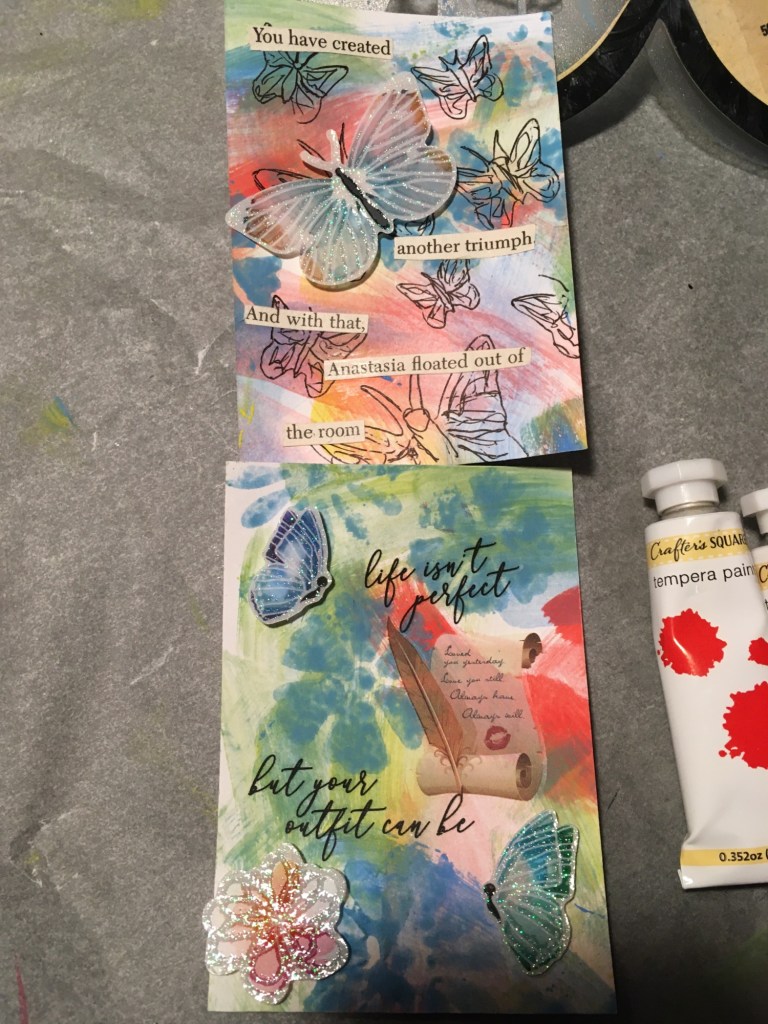
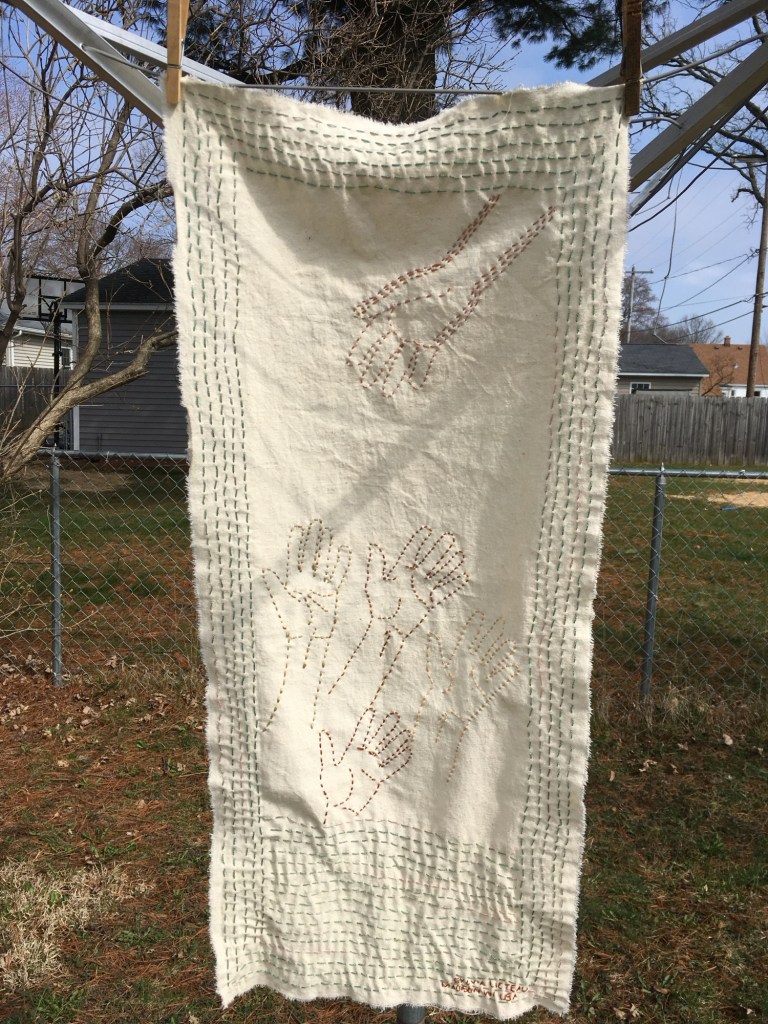
That last photo was taken from the floor, looking up at the panel. It seems to be washed out by the overhead light. The picture below is what my panel looked like before I packed it up to send out.

My entry to the 25 Million Stitches Project.

I did find my name on the list of contributors so I know they received it. The exhibit has been traveling for several years not so there’s bound to be fading and damage even though they pack the banners very carefully. It was worth the drive even though my GPS kept trying to get me back on the selected route after I had to detour because one of the bridges was out of service for replacement.

 Creating Artist Trading Cards with Dollar Tree Crafter’s Square Items

Way back during the Great Covid Lockdown, I did an online session on making Artist Trading Cards for members of the Bodgery, a maker space here in Madison.

Supplies

From the Dollar Tree

Crafter’s Square:

  • Stencils
  • Stickers
  • Rub-on stickers
  • Tempera Watercolor
  • Rubber stamps

Other supplies

  • Sheet of sturdy paper such as card stock, drawing paper, watercolor paper, or Bristol board sized 8-1/2 by 11 inches.
  • Ruler, craft knife, and cutting mat, or paper trimmer
  • Ink pads
  • Paint brush – about ½ inch (across or in diameter) depending on whether you have a flat or round brush.
  • Scissors
  • Magazine or book pages
  • Glue or glue stick
  • Pencil
  • Fine-tipped black pen
  • Something to use as a palette.
  • Two containers for water
    • One for rinsing brushes
    • One for clean water to dilute paint.
  • Rag or paper towels for wiping brushes.

Optional:

  • Craft heat gun or hair dryer for drying paper.
  • Cosmetic sponge or dauber for distressing edges.
  • Distress ink or tan ink pad for distressing edgesd
  • 12 x 12 single-sided cardstock cut to 7 by 10-1/2 inches.

On the back of the sheet of paper, mark boxes 3-1/2 inches tall by 2-1/2 inch wide. The number of cards will depend on the orientation of your paper. 8-1/2 by 11 will make 9 cards;11 by 8-1/2 will make 8.

Once you mark off the card shapes, turn the paper over. Squeeze a small blob of the three primary colors onto the palette. Dip your brush into the clean water container and then into your first color.

Make random streaks and lines in each color across the paper. Clean brushes after each color to keep them clean. Overlap marks to create additional colors. Let paints dry.

Stamp images randomly across paper to create additional background interest. Cut cards apart and distress edges if desired. Use book pages to select words and phrases to decorate front of cards. Select embellishments from sticker sheet for front of card.

Before gluing items down, test arrangements. Once you are satisfied, glue everything down. To ensure lasting adhesion, apply glue to each sticker and phrase before laying them down. Glue stick adhesive tends to dry out and lift after a while.

Crafter’s Square art supplies.

A couple of finished cards.

The items are fairly nice to use and affordable so any one with a couple of dollars can make a small piece of art to share. You don’t need to spend a lot of money on art supplies.

Since the time I did this class, Dollar Tree has added more craft supplies including fabric and vinyl that can be used with die-cutting machines such as Cricut. If there’s a store near you, check them out.

Hello Again

I’m back. Busier than ever. Since last we met, I’ve joined a makerspace here in Madison, called the Bodgery. I’m the Craft Area Captain. What that means is I’m in charge of a large room filled with almost everything a crafter needs – sewing machines, knitting machines, a heat press, bookbinding supplies, yarn, fabric and even more stuff. I teach members how to use the equipment in the Craft Area, as well as bookbinding, knitting , sewing and papercrafts. I’ll be posting the projects I’m working on as well as a few pictures of classes with the participants’ permission.

Right now, I’m working on some junk journals. Here are two made from return envelopes covered in tissue paper. The inside pages are various papers including magazine pages and scrap papers.